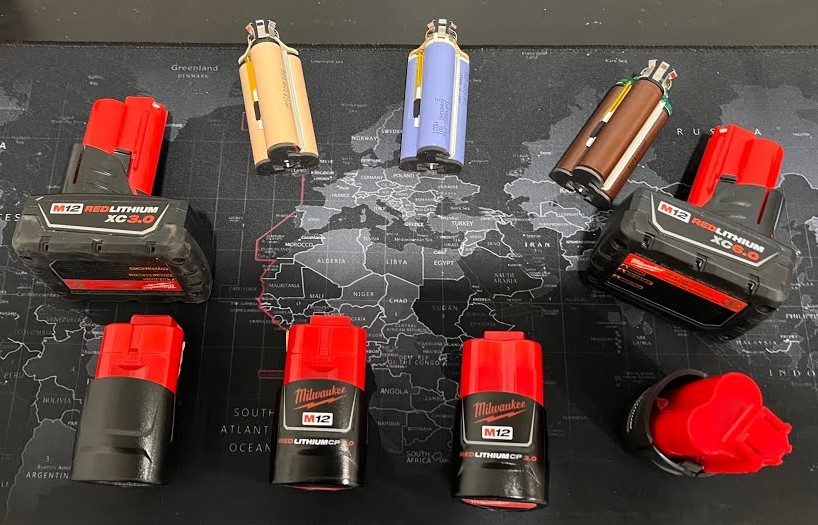
Milwaukee M12 batteries power some of the most reliable tools in workshops and job sites. Removing the battery correctly prevents damage to both the battery and the tool. Many users struggle with the small release mechanism, leading to frustration or accidental drops.
This guide walks through the process step by step, making battery removal simple and safe. Understanding the battery’s locking system helps avoid unnecessary wear and tear. Before handling, make sure your tool is switched off to prevent any sparks or electrical issues.
Gripping the battery firmly while pressing the release button ensures it slides out smoothly. Some models may feel tighter than others, but patience keeps both your tool and battery in good condition.
Regular practice makes battery swaps faster, allowing uninterrupted work. This guide also includes tips to store and maintain your M12 battery for longer life.
How to Remove a Milwaukee M12 Battery?
Milwaukee M12 batteries power many compact tools. They are small but strong. Removing the battery safely keeps both the tool and battery in good condition.
Knowing the correct method avoids damage and accidents. This guide explains every step in detail, with tips and precautions for safe handling.
Why Proper Battery Removal Matters?
Removing a battery incorrectly can cause:
-
Damage to the battery or tool
-
Short circuits or sparks
-
Reduced battery life
-
Risk of minor injuries
M12 batteries have a locking mechanism. Understanding how it works makes removal easy and safe.
Tools and Safety Needed
No extra tools are needed to remove an M12 battery. Just follow safety steps:
-
Turn off the tool: Prevents accidental starts.
-
Keep hands dry: Moisture can cause slips or small shocks.
-
Work on a flat surface: Helps prevent dropping the battery or tool.
Step-by-Step Guide to Remove a Milwaukee M12 Battery
Step 1: Turn Off the Tool Completely
Ensure the tool is off. Press the trigger a few times to confirm it does not run. Even if the tool looks off, checking prevents accidents.
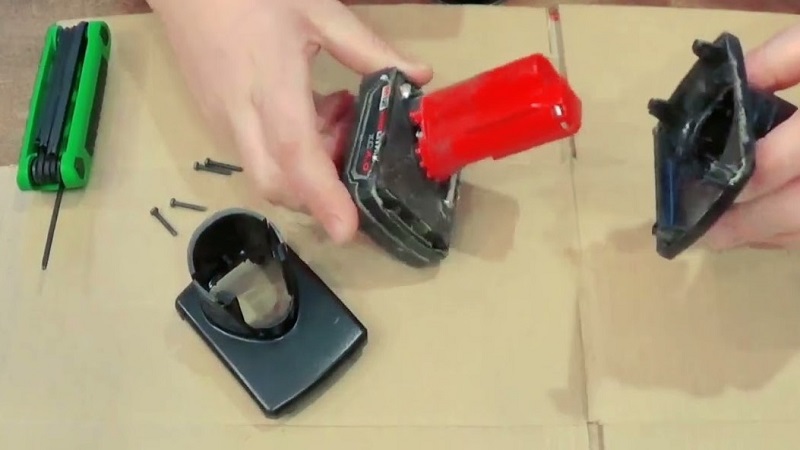
Step 2: Identify the Battery Release Button
-
Look at the top front area where the battery meets the tool.
-
The button is usually red or black.
-
This button locks the battery in place.
Step 3: Press the Release Button Firmly
-
Use your thumb to press it fully.
-
You should hear or feel a click.
-
Keep pressing while removing the battery.
Step 4: Remove the Battery
-
Pull the battery straight out.
-
Avoid twisting, bending, or forcing it.
-
If the battery sticks, check that the button is fully pressed.
Step 5: Inspect the Battery
-
Check for cracks, leaks, or damage before storing.
-
Make sure the contacts are clean. Wipe them with a dry cloth if dirty.
Step 6: Store or Charge the Battery Properly
-
Store in a dry, cool place. Avoid direct sunlight or heat.
-
Use only Milwaukee M12 chargers.
-
Keep away from metal objects to prevent short circuits.
Extra Tips for Safe Battery Handling
Protect the Battery
-
Do not drop it. Even a small drop can damage the cells.
-
Avoid exposure to water or humidity.
Keep Contacts Clean
-
Dust, dirt, or grease on contacts can prevent proper charging.
-
Use a soft, dry cloth to clean contacts.
Do Not Force the Battery
-
If it does not slide out easily, make sure the release button is pressed fully.
-
Forcing can break the battery or tool slots.
Test After Reinstallation
-
When inserting back, slide it in slowly.
-
Ensure it locks in place with a click.
-
Test the tool briefly to confirm power flow.
Common Problems and Solutions
Battery Won’t Release:
-
Ensure the release button is pressed fully.
-
Check for debris in the slot.
Battery Feels Loose:
-
Check if it clicks securely when inserted.
-
Loose fit can cause power interruptions.
Battery Won’t Charge After Removal:
-
Clean contacts.
-
Check charger and tool for issues.
FAQs About Milwaukee M12 Battery Removal
Q: Can I remove the battery while the tool is running?
Never. Turn off the tool completely first.
Q: Does the battery fit in any direction?
No. Align the battery with the tool’s slots. It only fits one way.
Q: Can I store the battery in the tool when not in use?
Removing the battery is safer. It prevents accidental starts and preserves battery life.
Q: How do I know if the battery is damaged?
Look for cracks, leakage, strange smells, or overheating. Do not use damaged batteries.
Conclusion
Removing a Milwaukee M12 battery is simple but requires care. Press the release button, pull the battery straight out, and check it for safety.
Store or charge it properly. Following these steps protects your tools, extends battery life, and ensures safe operation every time.