Blade replacement on a Milwaukee circular saw feels tricky at first yet the task stays simple with the right steps and a little care. A sharp blade keeps cuts clean, protects the motor, and helps every project move faster. Dull teeth slow the saw, burn wood, and strain your hands.
Many DIY users ignore blade changes until problems appear. Smart maintenance prevents those issues and keeps your saw ready for daily work.
This guide explains the full process in clear language. Each step focuses on safety, control, and speed. You will learn how to lock the arbor, remove the old blade, place the new one, and tighten everything the right way.
Basic tools and a few minutes of focus complete the job. Confidence grows after the first change and future swaps take even less time. Grab your wrench, clear your workspace, and prepare your saw for smoother safer cutting today.
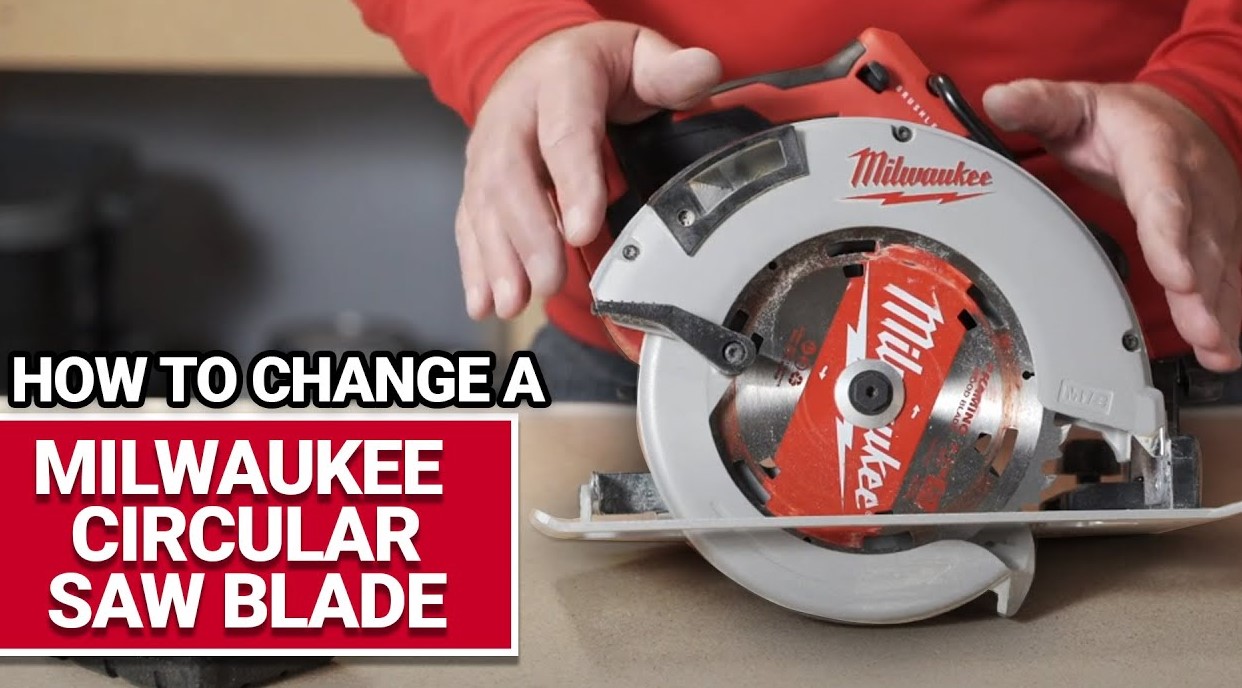
How to Change Blade on Milwaukee Circular Saw?
A circular saw depends on one key part. The blade. A sharp and properly installed blade gives clean cuts, smooth edges, and steady control. A worn blade causes slow cutting, burn marks, and rough wood edges. Many users feel unsure about blade replacement. The process looks complex at first glance. The task actually stays simple and quick.
Milwaukee circular saws use a direct arbor system with a locking spindle. This design allows easy blade removal and installation. Most models include a blade wrench stored on the tool body. A blade change usually takes less than five minutes after you learn the steps.
Clear instructions help reduce mistakes. A correct blade installation also protects the saw motor and improves cutting accuracy. This guide explains the entire process with extra detail. Each step includes safety notes, tool tips, and common problems. Simple language. Short steps. Clear explanation.
Understanding the Parts of a Milwaukee Circular Saw
Basic knowledge of the saw parts makes blade replacement easier.
Blade
The blade performs the cutting work. Circular saw blades usually measure 6-1/2 inches or 7-1/4 inches in diameter on most Milwaukee models. Carbide teeth cut wood, plywood, or other materials.
Arbor
The arbor is the center shaft that holds the blade. The blade slides onto this shaft during installation.
Arbor Bolt
The arbor bolt holds the blade tightly against the inner flange. Proper tightening prevents blade movement during cutting.
Inner Flange
The inner flange sits behind the blade. This round metal plate supports the blade and keeps it aligned.
Outer Washer
The washer sits in front of the blade. This washer spreads pressure evenly across the blade surface.
Blade Guard
Milwaukee circular saws use a lower blade guard that covers the blade when the saw is not cutting. The guard retracts automatically during cutting.
Spindle Lock Button
The spindle lock stops the blade from rotating. This feature allows you to loosen or tighten the arbor bolt safely.
Tools and Items Needed
Blade replacement requires only a few simple items.
Required Tools
-
Milwaukee circular saw
-
Blade wrench included with the saw
-
Replacement blade
-
Work gloves
-
Clean cloth or rag
Optional Helpful Items
-
Safety glasses
-
Small brush for dust removal
-
Light machine oil for cleaning the arbor
Preparation saves time during the process.
Safety Steps Before Blade Replacement
Disconnect Power
Power removal is the first rule of saw maintenance.
Corded saw: unplug the power cord from the outlet.
Cordless saw: remove the battery pack.
A disconnected tool cannot start accidentally.
Clear the Work Area
Place the saw on a stable table or workbench. Good lighting helps you see the bolt and blade clearly.
Wear Protective Gloves
Circular saw teeth remain sharp even after heavy use. Gloves protect fingers during blade handling.
Wait for the Blade to Stop
A blade must stop completely after the last cut. Never touch a spinning blade.
Step-by-Step Process to Change the Blade
Step 1: Position the Saw Correctly
Place the circular saw flat on the table with the blade facing upward. The motor side should face you. This position gives easy access to the arbor bolt.
Step 2: Remove the Battery or Unplug the Tool
Battery powered Milwaukee saws use a sliding battery pack. Press the battery release button. Pull the battery straight out of the tool. Corded saw users must unplug the power cord from the outlet. Confirm no power reaches the saw.
Step 3: Locate the Spindle Lock
Milwaukee places the spindle lock near the motor housing. Press the button and rotate the blade slowly by hand. The spindle lock will click into place once it aligns with the internal gear. The blade should stop moving after the lock engages.
Step 4: Loosen the Arbor Bolt
Insert the blade wrench into the arbor bolt. Milwaukee circular saws usually loosen clockwise instead of the normal counterclockwise direction.
This reverse thread prevents the bolt from loosening during cutting. Turn the wrench slowly and apply firm pressure. The bolt should break free with one strong turn.
Step 5: Retract the Lower Blade Guard
Pull the lower blade guard upward. Hold it open with one hand. The guard reveals the entire blade and arbor assembly. Keep fingers away from the teeth.
Step 6: Remove the Arbor Bolt and Washer
Unscrew the arbor bolt completely. Place the bolt and washer on the table. These parts must return during installation. Keep them clean. Dirt or sawdust may prevent proper tightening.
Step 7: Remove the Old Blade
Lift the blade off the arbor shaft. Place the blade aside carefully. Teeth can still cause cuts. Take this moment to inspect the arbor area.
Cleaning the Blade Area
Dust and resin often build up inside the blade housing. Use a clean cloth or brush to remove debris. This cleaning step improves blade alignment and prevents vibration. A clean arbor helps the new blade sit flat.
Installing the New Blade
Step 8: Check Blade Direction
Circular saw blades include a small arrow printed on the metal surface. This arrow shows the rotation direction. Milwaukee saw guards also include a rotation arrow. Both arrows must match. Incorrect blade direction causes poor cutting and extra motor strain.
Step 9: Place the Blade on the Arbor
Slide the blade onto the arbor shaft. Ensure the blade hole fits fully over the shaft. The blade should sit flat against the inner flange. A gap indicates improper placement.
Step 10: Reinstall the Washer
Place the outer washer back on the arbor. The flat side of the washer should press against the blade. This washer spreads pressure evenly during tightening.
Step 11: Tighten the Arbor Bolt
Insert the arbor bolt through the washer. Press the spindle lock again. Turn the wrench counterclockwise to tighten the bolt. Apply firm pressure. Tight is good. Excess force is not necessary.
Step 12: Release the Blade Guard
Let the lower blade guard close over the blade. The guard must move smoothly and cover the blade edge fully. A stuck guard requires cleaning or inspection.
Step 13: Perform a Manual Spin Test
Rotate the blade by hand. The blade should spin smoothly without wobble. Loose installation often causes vibration.
Testing the Saw
Reconnect the battery or plug in the saw. Press the trigger for a short test run. No cutting needed. Observe blade movement. Listen for vibration or unusual noise. Smooth rotation confirms correct installation.
Common Blade Sizes for Milwaukee Circular Saws
Most Milwaukee circular saws use these sizes:
-
7-1/4 inch blade – standard framing and construction work
-
6-1/2 inch blade – compact cordless saws
-
5-3/8 inch blade – small lightweight models
Arbor size usually measures 5/8 inch. Always match both blade diameter and arbor hole.
Types of Circular Saw Blades
Different blades produce different results.
Framing Blade
24 teeth. Fast cutting speed. Rougher edges.
General Purpose Blade
40 teeth. Balanced speed and smooth cuts.
Finish Blade
60 teeth or more. Very smooth cuts in plywood and trim wood.
Specialty Blade
Designed for metal, plastic, or fiber cement materials. Correct blade type improves cutting performance and safety.
Signs That a Blade Needs Replacement
Burn Marks on Wood
Heat marks appear on the cut surface.
Extra Force Needed
The saw struggles to cut through wood.
Rough Cut Edges
Wood fibers tear instead of slicing cleanly.
Loud Vibration
Blade wobble or worn teeth create strong vibration. Blade replacement restores smooth cutting.
Tips to Extend Blade Life
Keep the Blade Clean
Resin from wood sticks to teeth. Cleaning removes buildup and restores cutting speed.
Use the Right Blade for the Material
Wood blades should not cut metal or plastic.
Avoid Forcing the Saw
Let the blade cut at its natural speed.
Store Blades in a Dry Place
Moisture causes rust and reduces blade life.
Common Blade Change Mistakes
Wrong Bolt Direction
Many users attempt to loosen the bolt in the wrong direction.
Forgetting the Washer
Missing washers create unstable blade mounting.
Incorrect Blade Direction
Reversed blades cut poorly and stress the motor.
Over-tightening the Bolt
Too much force may damage threads.
Leaving the Battery Installed
This mistake creates serious safety risk.
FAQs
How long does a circular saw blade usually last?
Blade life depends on material and frequency of use. Heavy construction work may wear a blade within a few weeks. Occasional home use may allow a blade to last several months.
Why does my circular saw shake during cutting?
Loose installation often causes vibration. A warped blade may also create shaking. Dirt behind the blade may prevent proper alignment.
Can I sharpen a circular saw blade instead of replacing it?
Carbide blades can be sharpened several times. Many users replace the blade because sharpening requires special tools.
Do Milwaukee circular saws include a blade wrench?
Most Milwaukee models include a wrench stored on the saw body. Some models store the wrench near the motor housing or base plate.
What happens if the blade spins in the wrong direction?
Incorrect direction produces rough cuts and heavy motor strain. The saw may also kick back during cutting.
Conclusion
A blade change on a Milwaukee circular saw is a quick maintenance task. Basic tools and a few simple steps complete the job safely. Power removal comes first. The spindle lock holds the blade steady during bolt removal. The old blade lifts off the arbor after removing the washer and bolt.
A new blade installs easily once the direction arrows match the saw rotation. Proper tightening secures the blade and prevents vibration. A quick spin test and short power test confirm correct installation.
Regular blade checks keep cuts clean and accurate. Fresh blades reduce motor stress and improve cutting speed. Good maintenance keeps the circular saw ready for every project and extends the life of the tool.