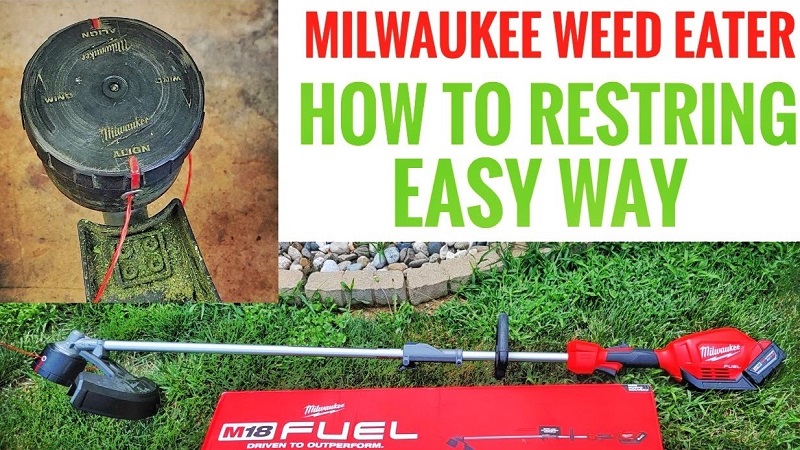
A tangled or broken string can slow down yard work and turn a quick task into a frustrating chore. Milwaukee weed eaters deliver powerful trimming performance, but their efficiency depends on having a properly installed string.
Understanding the correct way to restring your tool keeps it running smoothly and saves time and money. Step-by-step instructions and simple tips make the process approachable for beginners and experienced users alike.
Knowing the right string type, length, and threading technique ensures cleaner cuts and extends the life of the trimmer head. Avoiding mistakes such as overfilling or incorrect winding prevents jams and uneven wear.
Mastering the restringing process boosts confidence and keeps your lawn looking neat. Anyone can restore their Milwaukee weed eater to top performance with a few easy steps and a little attention to detail. Yard maintenance becomes easier, faster, and more satisfying with the right approach.
How to Restring Milwaukee Weed Eater?
A Milwaukee weed eater works best when the cutting line is fresh and strong. The trimmer line wears out after use, breaks, or gets stuck.
Replacing it may feel tricky, but knowing the process in detail makes it easy. This guide explains every step with extra tips, practical advice, and common issues to avoid.
Understanding Your Milwaukee Weed Eater
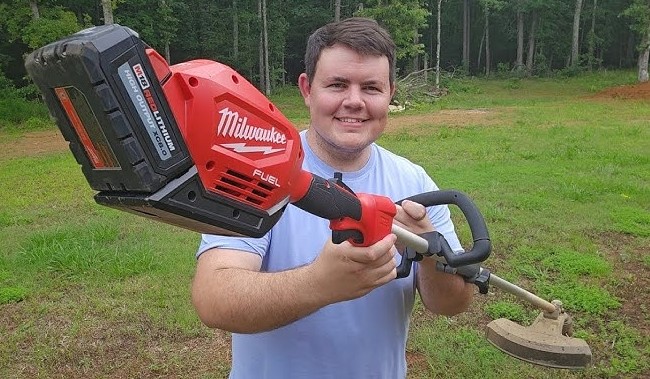
Milwaukee weed eaters usually come with bump-feed or fixed spool heads. The head holds the trimmer line and allows it to spin fast to cut grass.
-
Bump-feed heads: The line extends when you tap the head on the ground. This type needs the line to be wound correctly so it feeds smoothly.
-
Fixed spool heads: The line stays in place and only needs replacement when it runs out.
Knowing your model type helps choose the correct line size and winding method. Using the wrong line can damage the spool or motor.
Recommended Trimmer Line Sizes
Milwaukee recommends different line diameters depending on the model. Here are common sizes:
| Model Type | Line Diameter | Best For |
|---|---|---|
| Small electric trimmer | 0.065–0.080 inch | Light grass, weeds |
| Medium corded or battery trimmer | 0.080–0.095 inch | Tall grass, small brush |
| Heavy-duty trimmer | 0.095–0.110 inch | Thick weeds, small saplings |
Using a thicker line gives longer life but reduces cutting speed. Too thin line wears out fast.
Tools and Materials Needed
-
Correct diameter trimmer line
-
Scissors or utility knife
-
Gloves to protect your hands
-
Optional: clean cloth to remove dirt inside the spool
Removing the Old Trimmer Line
-
Power Off: Disconnect the battery or unplug the trimmer. Safety prevents injuries.
-
Access the Spool: Flip the trimmer upside down. Locate the spool cover. Most covers have tabs or screws.
-
Remove Cover: Press the tabs or unscrew carefully. Keep the cover aside.
-
Take Out Old Line: Pull out any old line from the spool. Inspect the spool and head for dirt, debris, or small stones.
-
Clean the Area: Use a cloth or brush to remove all dirt. Clean spools allow smooth winding and reduce line jams.
Preparing the New Trimmer Line
-
Cut a piece of line 10–25 feet long depending on your spool size. Shorter spools need less.
-
Check the ends of the line for frays. Cut clean ends with scissors.
-
Many spools have a small slot or hole. Make a small hook at one end of the line. This secures the line on the spool and prevents it from slipping while winding.
Winding the Line on the Spool
Step-by-Step Instructions
-
Hold the spool with the arrow pointing in the winding direction. Spools usually have a small arrow indicating the correct direction.
-
Insert the hooked end into the small slot or hole.
-
Wind the line tightly and evenly. Keep the coils close together. Overlapping lines cause tangles.
-
Leave about 6–8 inches free at the end for threading through the trimmer head.
-
For dual-line trimmers, repeat for the second line spool if needed. Make sure both lines have the same length.
Tip: Winding loosely causes the line to jam. Winding too tight can make it hard to feed when trimming.
Installing the Spool Back into the Trimmer
-
Place the spool back inside the trimmer head. Align arrows or notches properly.
-
Thread the free ends of the line through the holes or eyelets on the trimmer head.
-
Snap or screw the cover back into place. Ensure it clicks or tightens securely.
-
Pull the line gently to test movement. It should slide freely without catching.
Extra Tip: Check that the lines extend equally. Uneven lines cause wobbling and reduce cutting efficiency.
Testing the Trimmer
-
Reconnect the battery or plug in the trimmer.
-
Turn on the trimmer in a safe area without people or pets nearby.
-
For bump-feed heads, tap the head on the ground lightly. The line should extend automatically.
-
Test on a patch of grass. Check cutting power and line extension.
Extra Tips for Long-Lasting Trimmer Performance
-
Use the correct line size: Overly thick line stresses the motor; too thin line breaks easily.
-
Clean the head regularly: Grass and debris can jam the line and spool.
-
Store properly: Keep the trimmer in a dry place to prevent rust.
-
Do not overload line: Overfilling reduces efficiency.
-
Check line frequently: Replace or rewind before it wears too thin.
Common Problems and Solutions
| Problem | Cause | Solution |
|---|---|---|
| Line keeps breaking | Wrong size or hitting rocks | Use correct line size; avoid hard surfaces |
| Line does not feed | Wound incorrectly or tangled | Rewind line evenly and tightly |
| Trimmer head wobbles | Uneven line length | Adjust line lengths to match |
| Line jams | Dirt or debris in spool | Clean spool and head before rewinding |
FAQs
Q: How often should I replace the line?
A: Replace when it breaks, becomes too short, or stops cutting properly. Heavy use may need replacement every few weeks.
Q: Can I use any trimmer line?
A: Only use the diameter recommended for your model. Wrong size can jam the trimmer or wear the motor.
Q: How do I know my spool type?
A: Most Milwaukee trimmers use bump-feed heads. Check the manual or look at the spool arrow.
Q: What if my line breaks too fast?
A: Check for debris, branches, or rocks. Ensure the line size is correct and wind it properly.
Q: How long should the line piece be?
A: Usually 10–25 feet, depending on the spool. Shorter spools need less; longer spools allow longer trimming sessions.
Conclusion
Restringing a Milwaukee weed eater becomes simple with proper steps. Remove the old line, clean the spool, wind the new line carefully, and test it. Correct line choice, even winding, and proper storage extend trimmer life. Following this guide keeps the trimmer ready for smooth, efficient grass cutting and reduces damage or downtime.